How to Take a Screenshot on iPhone 7, 7 Plus and Older
Take a screenshot directly from your iPhone device so that you can share it with your friends. Whether it’s a problem for which you need assistance, or a chat on a social media platform such as Facebook, Twitter, or Instagram, we are here to help you.
In order to take a screenshot on iPhone 6 or 6 Plus, or iPhone 7 or 7 Plus, you can follow these simple steps below that will guide you through the process.
3 Ways to Take a Screenshot on iPhone 7
The purpose of this guide is to give you a better understanding of how to screenshot your iPhone 7 by using these two methods.
- Physical Buttons
- AssistiveTouch
- Third-party apps
1. Take a Screenshot on iPhone 7 Using the Buttons
Step 1: Open the app or the screen in which you need to take a screenshot.
Step 2: Press and hold the Sleep/Wake and the Home button at the same time. Then, you may listen to a shutter sound, and the flash white screen will appear shortly.
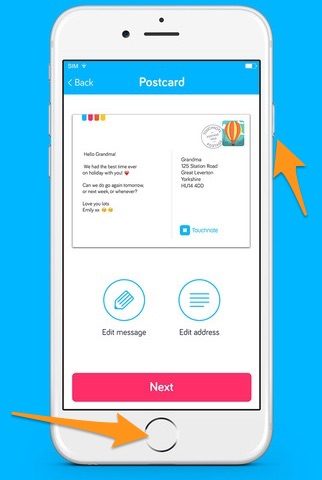
You won’t need to do anything so it will save automatically in your iPhone Camera Roll inside the Photos app.
Note: You must make sure that you don’t turn on Touch ID or Siri app while attempting to take a screenshot on your iPhone device.
2. Take a Screenshot on iPhone 7 Using AssistiveTouch
If the button on your devices doesn’t work, you can take a screenshot using AssistiveTouch. It’s a great method and so easy to perform.
Make sure that you have turned on the AssistiveTouch from Settings. You can follow the step-by-step below.
- Tap on Settings apps >> Tap on General >> Tap on Accessibility >> Scroll down to see the AssistiveTouch and turn it on.
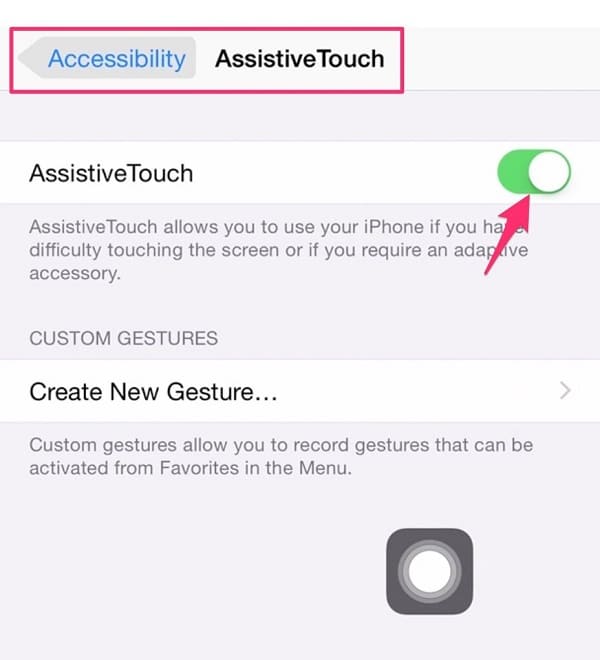
Then, the AssistiveTouch icon will appear on your screen, and here is how to take a screenshot using AssistiveTouch:
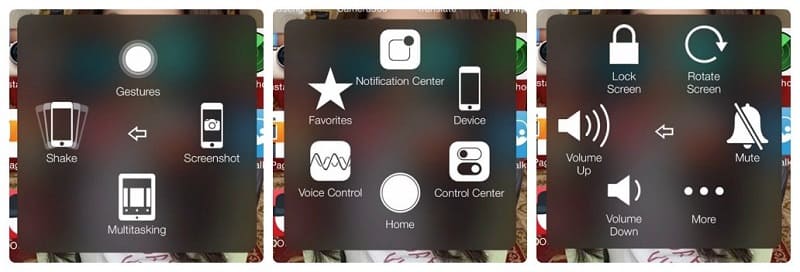
Step 2: Open the screen you want.
Step 3: Tap on the AssistiveTouch icon >> Tap on Device >> Tap on More, and you’ll see the Screenshot option. Tap on it and iOS will automatically take a screenshot and save the image to the Photos app.
See the detailed guide to turning Assistive Touch on
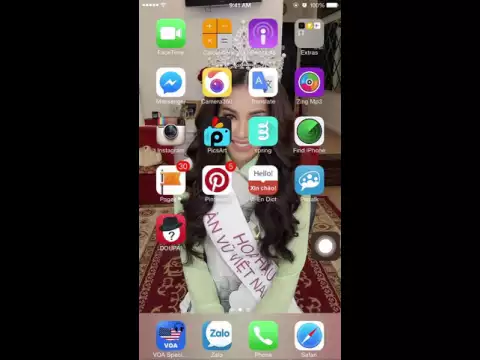
Step 4: Open and share the screenshot. Go to the Home Screen and open the Photos app.
Scroll down until you see the screenshot has been taken. Tap on it to view, set it as wallpaper, and share it with a friend, or family, text messages, or social networks such as Facebook, Twitter, etc.
Taking a screenshot using Third-Party apps
You can snapshot & edit yours with some of the third-party photo editing apps below.
Stitch It! – Edit & share screenshots!: Download here.
Skitch – Snap. Mark Up. Send: Download here.
YOU MAY ALSO LIKE THE FOLLOWING:
- How to Take a Screenshot on iPhone 6S and 6S Plus
- How to Take a Screenshot on iPhone SE
- How to Take a Screenshot on An iPhone 8/8 Plus
You can perform this method to take a screenshot on iPhone of older devices, including iPhone SE, iPhone 5, iPhone 5s, iPhone 4s, and 4, as well as on the iPad Pro, iPad Air, and iPad.