How to Take a Screenshot on a Sony Xperia Z Devices

In this guide, we will show you how to take a screenshot on a Sony Xperia Z device. Taking a screenshot is a very simple process and is very useful if you want to save a copy of an image or text on your screen. Sony Xperia lets you do it in several ways, including just using the Power/Lock key or the Lower/Lock and Volume Down keys. You can also use a third-party app. However, the first method is popular for all Android smartphones.
How to Take a screenshot on a Sony Xperia Z
Using Hardware Buttons:
1. Power/Lock
Step 1: Go to the screen you need to take a screenshot.
Step 2: Hold down the Power/Lock key until the popup box appears, just select the Take a screenshot option.
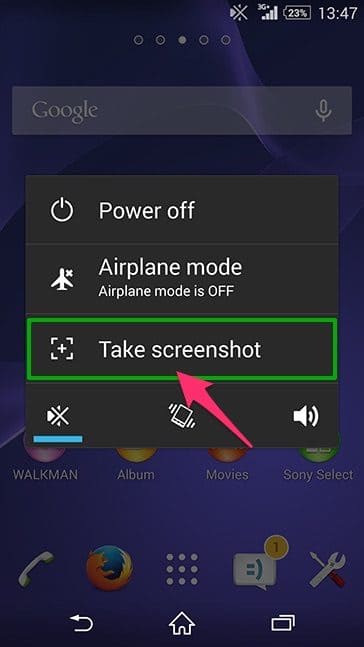
The screenshot is quickly saved to the internal memory of your device. You can see them in the Gallery or Pictures app >> Screenshots folder. Now you can also share or send a screenshot to mail services (Gmail, Yahoo, Outlook,…) or post on your Facebook, instagram, etc.
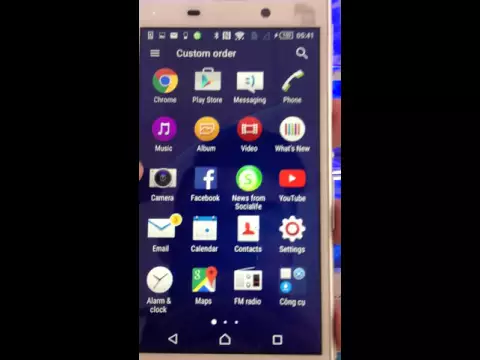
See the video tutorial below:
2. Power/Lock and Volume Down key
Just hold down the Power/Lock key and the Volume Down key for about two or three seconds at the same time until you hear the camera shutter, and the screenshot will flash.
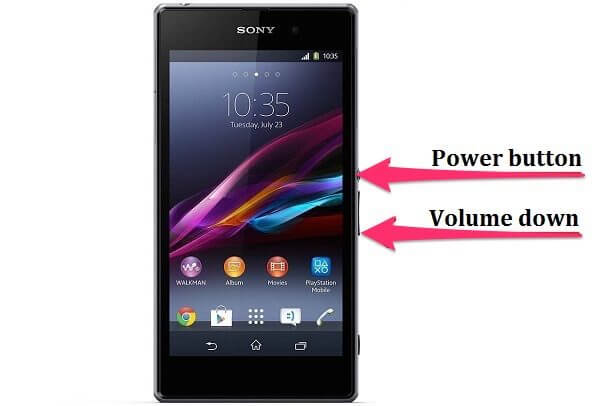
Release both keys, and the screenshot is saved in your Gallery application.
Using The Third-party App
Step 1: Open Google Play Store to install the Quick Memo app or you can click here.
Step 2: Go to the screen where you need to take a screenshot.
Step 3: Slide down the notification panel on that screen. Let’s tap on the Quick Memo icon. Your screenshot will be saved on the Gallery app. Now you can use it for anything you want.
In conclusion:
When it comes to taking a screenshot on a Sony Xperia Z device, there are a number of ways to do this, but the most common is by using the hardware buttons on the device.
If you have any problems, or if you just need to share other ways with our visitors or with us, leave a comment below.
Read also: How to Take a Screenshot on Moto