How to Take a screenshot on Mac OS X Mavericks
The Mac OS X has already made it simple to take screenshots of your Mac screen. You can use a wide range of methods to get specific screenshots based on your demand. It doesn’t matter if you are working with Mavericks, Mountain Lion, Yosemite, OS X EI Capitan, or any version of Mac OS X. In this article is a decision of all the ways in which you can easily capture a screen on your Macbook Air, Macbook Pro Retina or iMac.
How to take a screenshot on Mac OS X Mavericks
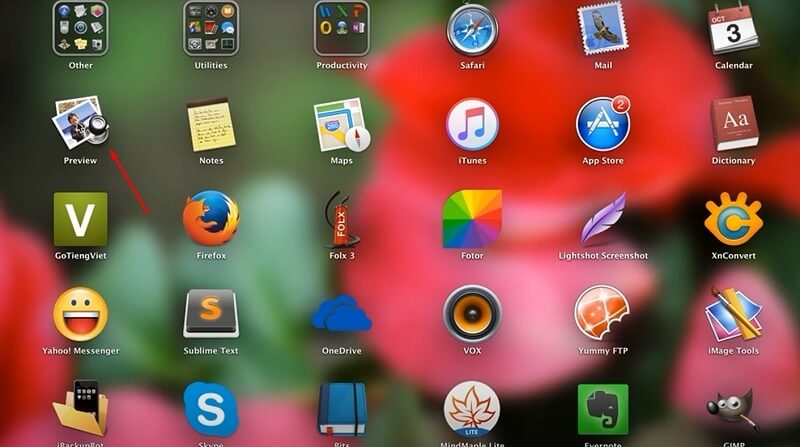
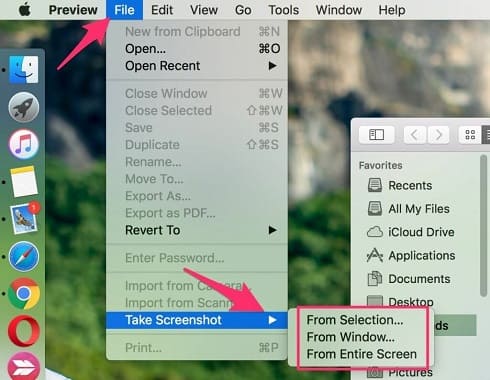
Method 1: Using Preview Application
One of the best features is the Preview application. It’s a great application for taking screenshots, and it’s really fast. try using it to take screenshots of your work projects, it’s worked well.
Go ahead and click on “Preview”
Now choose how to Take a screenshot on Mac OS X Mavericks
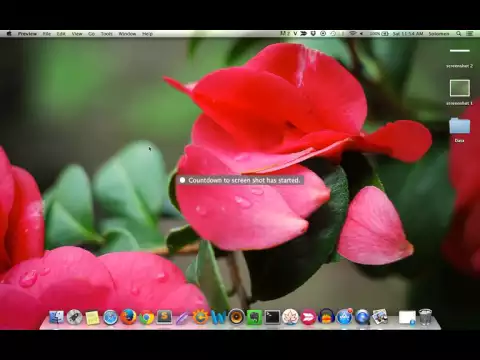
You can see this video tutorial below to know how to take a screenshot on your Mac.
Method 2: Use the combination buttons on your keyboard.

Hold down the Command + Shift + 3: To take a screenshot of the entire screen, and save it as a .png file to the desktop.
Hold down the Command + Shift + 4: The selection box will appear so you can select an area to take a screenshot of and then save it as a .png file to the Desktop or Pictures folder.
Hold down the Command + Shift + 4 and then press Spacebar: To take a screenshot of a window only and saves it as a file to the desktop.
Hold down the Command + Control + Shift + 3: To take a screenshot of the whole screen, and it will save it to the clipboard for pasting into any application.
Hold down the Command + Control + Shift + 4: To take a screenshot of the selection and the screenshot will save to the clipboard for pasting into any application.
Hold down the Command + Control + Shift + 4 and then Press Spacebar: Takes a screenshot of a window of apps that is opened and saves it to the clipboard for pasting into any application which you want.