How to Take Screenshots on Windows 11 (Complete Guide)
Screenshots are an important part of many people’s work, whether they’re making a tutorial or recording bugs for a software company. Windows 11 makes taking screenshots much easier than older versions of the operating system.
Some old methods include pressing “Print Screen” then pasting the content into another program, or using third-party screen capture software to take screenshots and save them as files on your computer.
This tutorial will show you how to take screenshots on Windows 11 easily and efficiently. A few simple steps can go a long way!
Read also: How to Take a Screenshot in Windows 10 (3 Methods)
Taking Screenshots on Windows 11: Using the built-in tools
Print Screen (PrtScn) key
Pressing the PrtScn key will take a screenshot of the entire screen.
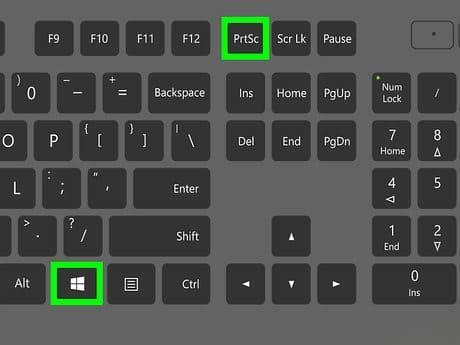
This is the most common way to take a screenshot in Windows 11. The Print Screen (often called PrtScn) key, or sometimes it’s referred to as “Print Scrn,” is usually located on either the top right side of your keyboard between F12 and Scroll Lock or in the top row with other function keys like Page Up and Page Down.
Here are the steps to take a screenshot using this method:
Make sure you know what you want to screenshot. Be aware of any open windows, browser tabs, or files that might also appear on your screenshot.
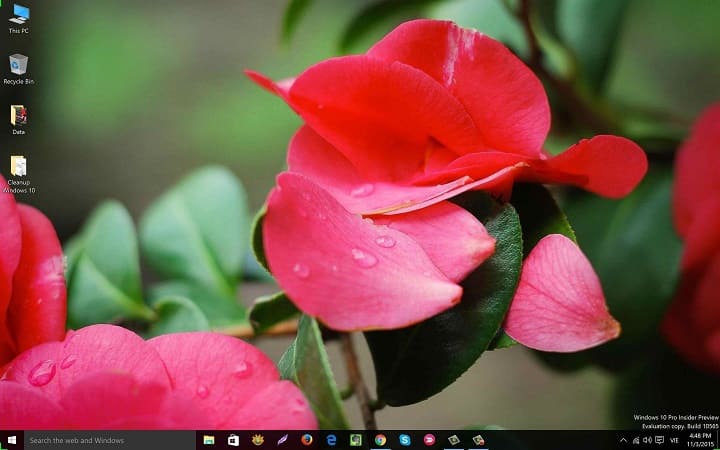
Pressing the Print Screen button will copy everything currently on your screen into memory. Open Paint (or another editing program like Paint.net).

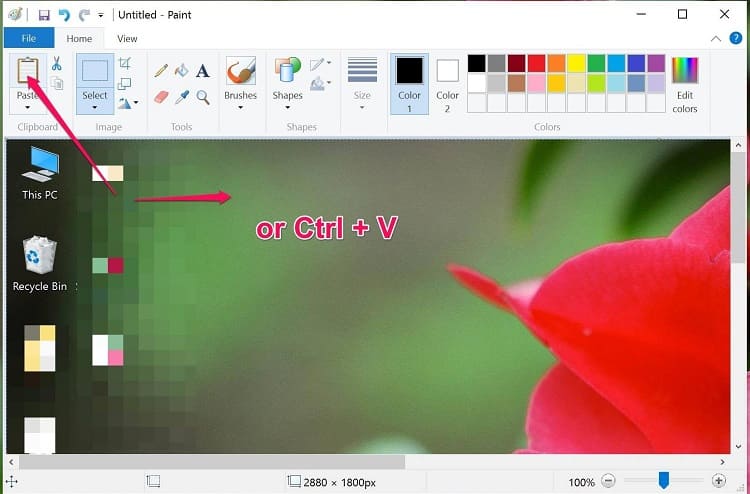
In the Paint toolbar, Click on “Paste” and then “Edit” or “Save” it on your PC.
The Print Screen button is a common key that many laptops have. It can be activated in various ways, depending on the laptop model. In some Laptops, you need to press the “Function (Fn) + Print Screen” shortcut buttons simultaneously to take a screenshot of your entire computer screen.
Windows + Print Screen Key
In order to capture your screen, hold down the Windows key and Print Screen button at once. Your display will momentarily dim before returning back to normal, this means a successful screenshot has been taken!
The screenshot will automatically save images that you take in a folder called “Screenshots” inside of the “Pictures” folder.
If you have a laptop that requires the use of a Function key, then in order to take a screenshot on your computer, press Windows Key + Fn+ Print Screen.
Alt + Print Screen
Pressing the “Alt” and Print Screen key together will take a screenshot of the active window only.
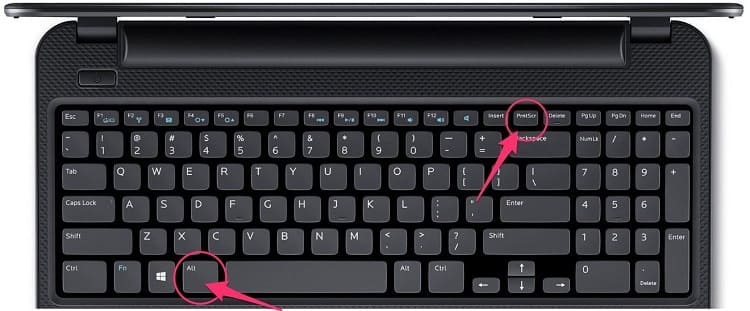
The screenshot is copied to the Windows clipboard. You need to paste it into an image editor before saving it in a format of your choice, like Paint for example.
Snipping Tool
This built-in tool allows you to take screenshots of your entire computer screen, just a portion of it, or even individual windows and then instantly save them as an image file on the desktop in all popular formats including JPEGs, GIFs, PNGS, etc.
Open the Snipping Tool on your PC.
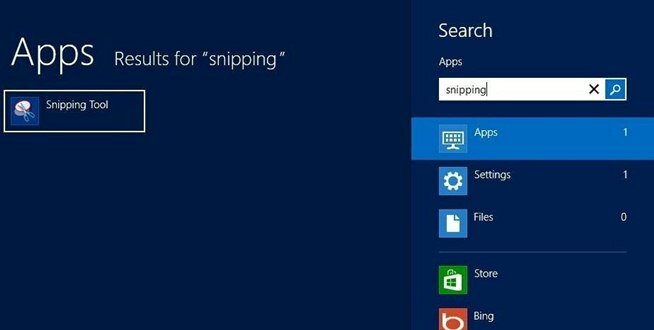
First, open the tool and click “New” in its toolbar. From there you can select the area to capture on your PC/Laptop.
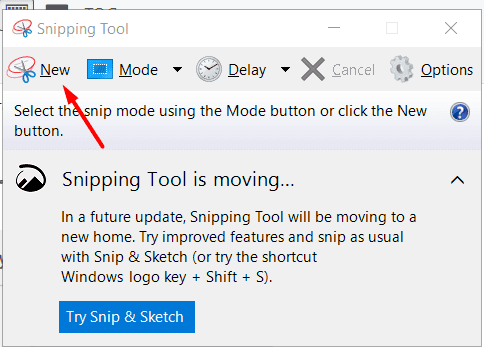
Now you can edit your screenshots and highlight important content with ease!
Tips: Pressing Alt + N keys will take a new screenshot in the same mode you used last. To save your snip, press Ctrl + S keys and to copy it to the clipboard, press Ctrl+ C keys.
Once you are done with the edits, save your screen to a location of your choice by clicking on “File” at the top and choosing “Save as.”
The Snipping Tool offers a variety of screenshot modes including Free-form, Rectangular, Active windows, and Full-screen.
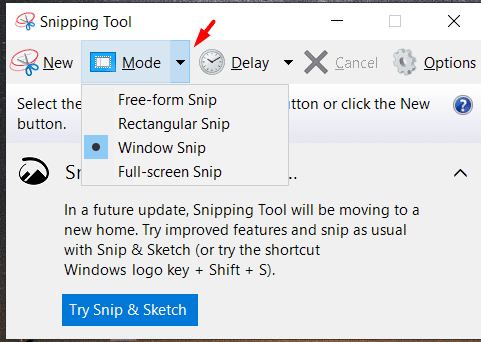
What’s more, you also get a “Delay” option that allows for screen capture by setting the timer or countdown. This feature can come in handy when trying to catch up with temporary windows before they disappear from sight.
Snip and Sketch
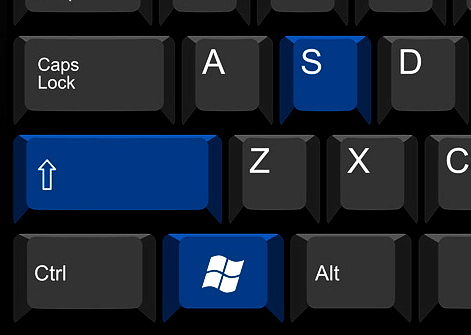
You can quickly open it by pressing Windows + Shift + S
Microsoft is abandoning Snipping Tool in favor of a more advanced, feature-rich utility called “Snip and Sketch.” Originally released as part of the Windows 10 Anniversary Edition (Version 1809) update.
Both apps are currently available in Windows 11, Some features may be added or removed from one release to another so we’ll just have to wait and see what happens!
The new Snip and Sketch is a great tool for PC users who want to take screenshots, customize, annotate, or share their screen captures.
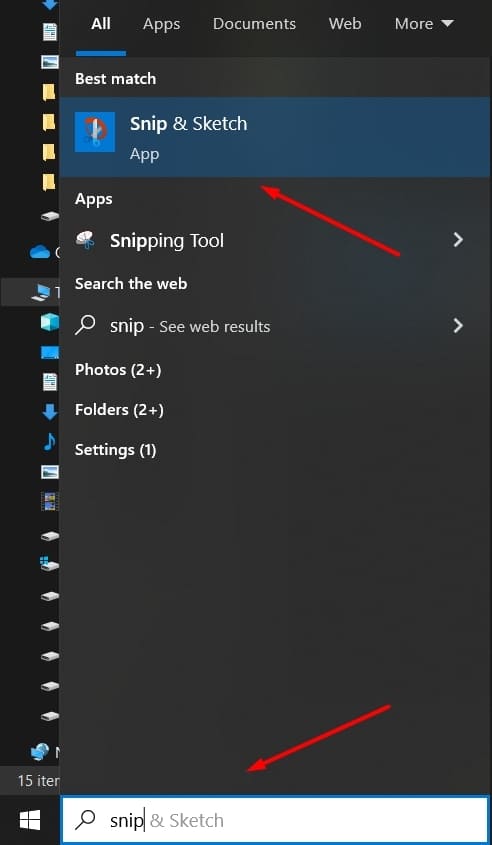
In order to activate Snip & Sketch, use the keyboard command “Windows Key + Shift + S.” or you can find it from the Search button at Taskbar.
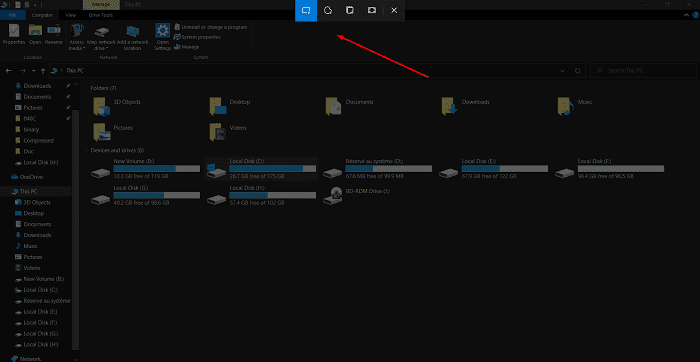
Your screen will dim and a mini menu appears at the top of your display that gives you 4 options: Take a rectangular, Free-form, (active) Windows, and Full-screen capture.
Game Bar
This is a built-in tool that has been around for most of the Windows 10 releases. If you want to make video game videos including your own voice and commentary, this is the way to go! How does it work? You just hit “Windows Key + G” on your keyboard and you can use the Game Bar “Record (2)” button to start recording your gameplay without needing to open it each time.
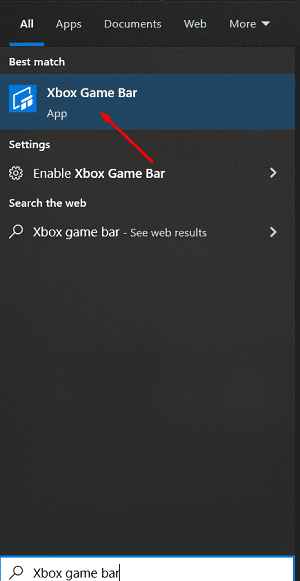
Or you can Press the Windows key and search for “Xbox game bar”
Additionally, if you want to take a screenshot in full-screen mode, click on the “camera” button. It will automatically save images that you take in a folder called “Captures (1)” inside of the “Videos” folder.
How to Take a Screenshot of The Entire Webpage
Chrome, Edge, Firefox
How many times have you been reading an article and wanted to copy a screenshot of the whole page? There are several ways to do this, but I will show you how to take a screenshot of your entire screen with just one click!
Microsoft Edge
In order to get started, open up the website that you want to take a screenshot of! Pressing Ctrl + Shift + S to open the built-in app that allows you to capture the full page, a selected area.
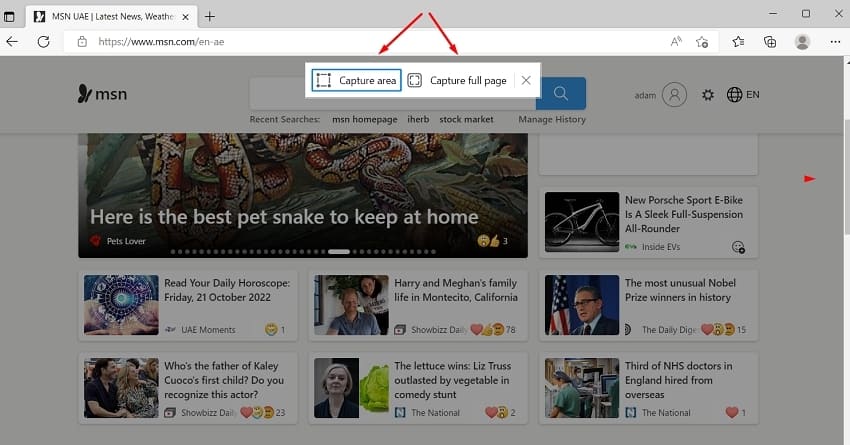
Ctrl + Shift + S
- Capture full page
- Capture area
Now you can edit your screenshot and save it to use.
Chrome & Firefox
If you’re looking for a way to capture screenshots activity, then installing the Awesome Screenshot & Screen Recorder extension is an excellent choice. It’s free and easy to use on both Firefox and Chrome! You can even take screenshots of the entire page, or selected area, select a local image, and capture after the countdown.
Download Awesome Screenshot & Screen Recorder for Chrome: Click here
Download Awesome Screenshot & Screen Recorder For Firefox: Click here
To see the extension icon after installation, click on an icon next to your profile avatar to find Awesome Screenshot then click the Pin icon.
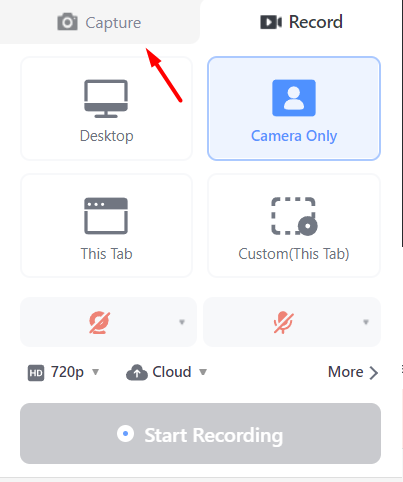
To capture Entire Screen & App Window, click on that option.
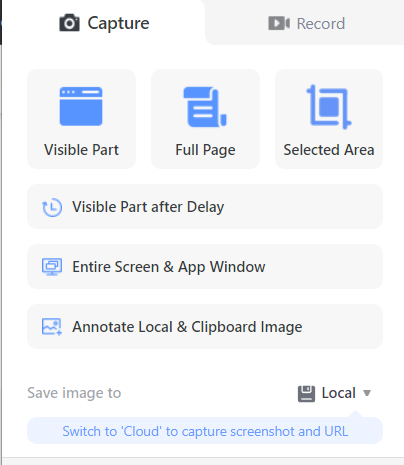
You can choose between the Visible part, Full page, and Selected area, also you can annotate a screenshot with lines, shapes or arrows, etc.
How to Take Screenshots on Windows 11: Using third-party software
PicPick

PicPick is a powerful and user-friendly screen capture tool that lets you take screenshots on your computer or tablet. With PicPick, you can annotate the screenshot with text, arrows, shapes, and more to make it easier for others to understand what they’re looking at.
It also includes other features such as cropping, resizing, and flipping/rotating images. Whether you need to showcase charts in an article or provide simple instructions for how to use the software in order for customers to be successful using it themselves, PicPick has got you covered!
Snagit

Snagit is a screen capture and editing software that allows users to take screenshots of their computer, and add annotations, arrows, shapes, and text boxes. The program also has the ability to record video from your desktop or make recordings directly in Snagit.
If you’re looking for an easy way to edit pictures or videos on any device then this is the tool you need. With Snagit, there are no limits when taking screenshots with its built-in features like drawing tools and zoom options. You can even crop your screenshot before saving it so there are no worries about dimensions being wrong later on.
Lightshot

Lightshot is a screenshot tool that allows you to capture anything on your device’s screen. It has an easy-to-use interface for both beginners and advanced users, as well as the ability to share screenshots directly from within the app. Lightshot also comes with built-in text editing tools so you can point out important details in your images or videos, adding arrows, lines, shapes, and more!
Greenshot

Greenshot is a free and open-source screenshot program for Microsoft Windows. Greenshot can take screenshots of an entire screen, active window, or rectangular selection; annotate them with shapes and text. It also has many other features that you would find in any good screenshot-capturing software.
Frequently Asked Questions: Taking a Screenshot
What is the best way to Take Screenshots on Windows?
There are many ways to take a screenshot and it is important to know the best way for your needs. If you need to capture an entire web page or document, then the best option is to use a Print Screen key on your keyboard. However, if you only need to capture part of what’s on the screen, then Snip and Sketch is the best option that works better for you.
What is the PrtScn button?
It’s a key on your keyboard that can be used to take screenshots. Screenshots are pictures of anything that is currently being displayed on your computer screen. There are many reasons why someone would want to take a screenshot and some include designing web pages, creating presentations, or making tutorials.
What is the best free screenshot software?
There are many different types of screenshot software available for downloading, some more simple than others. It’s up to you to decide which one will work best for your needs. Whether it be adding annotations or just taking a quick picture, all screenshots have their own benefits. Take a look at the third-party software that we have mentioned above.
In conclusion
It is very easy and straightforward to take screenshots on Windows 11. You can simply capture the image that you desire at any time by using the appropriate keyboard shortcuts and window controls.

